Connecting the Ethernet (crossover) cable and acquiring IP address
4. Plug your Ethernet cable into both computers' RJ-45 ports. A
short while after you plug the cable to both computers,
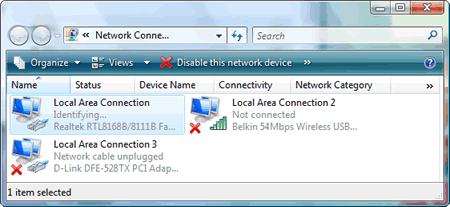
view the status of the direct connection below the associated LAN
adapter on Network Connections folder (Windows Vista). It says
"Enabled" then "Identifying..." At this time if you check its
status by right-clicking the connection name (Local Area
Connection), the adapter's IP address has been set to something of
169.254.x.y (x is from 0 to 255 and y from 1 to 254). The same
status also can be seen from Network and Sharing Center.

Picture:
Windows Vista is identifying a connected network adapter
on the host computer (DESKTOP).
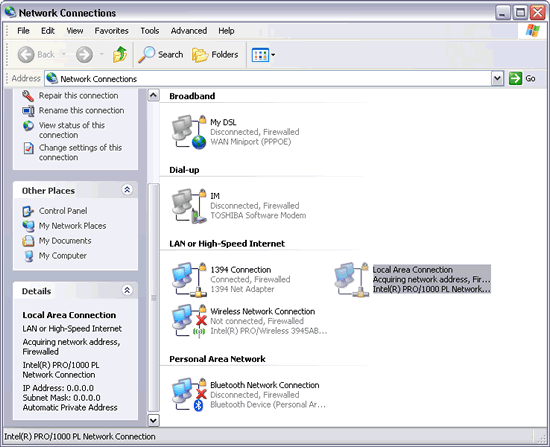
Meanwhile in Windows XP, the Details pane of the connected network adapter
(in Network Connections folder) shows that it still bears a
temporary IP address 0.0.0.0. This indicates that Windows (XP) is
still acquiring a network address or trying to find a DHCP server.
Windows Vista is faster in recognizing a connection and assigning
a proper IP address for the connected network adapter.

Picture:
Local Area Connection has a temporary IP address 0.0.0.0
and subnet mask 0.0.0.0 on the client computer (LAPTOP with Windows XP).
|