Windows XP Networking Guide : Wireless Network Setup Wizard

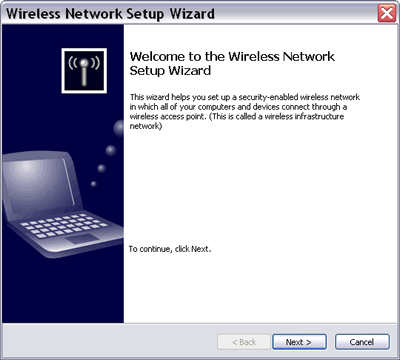
Picture: Wireless Network Setup Wizard
The
Wireless Network Setup Wizard helps you:
1) create a wireless network in which a wireless access point
connects all computers together. You must assign a network name
(SSID) and a secure key with
either WEP or WPA encryption.
You can save your network settings to a USB flash drive and use it
for configuring your wireless access point and other computers. But
the USB flash drive can only be used for setting up wireless LAN
devices (e.g. access point, router, printer, camera, phone) that support Windows Connect Now technology
(WCN). These devices must have a USB port to accept the wireless LAN
settings stored in the USB flash drive. WCN-compatible products
from some well-known vendors have started to appear in the market
this year. In any case, you always have the option to print your network settings and
set up your network manually.

Picture: Wireless Network Setup Wizard on another computer.
2) add a computer to an existing wireless network. If you save the
settings into a USB flash drive during your wireless network creation,
then you don't need to remember the detail settings for each
computer. Just plug in the
USB flash drive to each computer that you want to add to the
existing wireless network and confirm that the computer will be
added to the existing wireless network when prompted by the wizard.
Then the computer will be configured automatically for joining the
existing wireless network.
You can get to the Wireless Network Setup Wizard through:
1) Start>Control Panel>Wireless Network Setup Wizard, or
2) Start>All Programs>Accessories>Communications>Wireless Network Setup
Wizard, or
3) My Network Places>Network Tasks>Setup a wireless network for a
home or small office.
|